This guide will show you how to create a simple list of products from Chec using Commerce.js and React.js.
Overview
In this example we will create an application that lists products from Chec.
We will:
- Create a new React app and install the Commerce.js SDK
- Create React components to display static product data
- Hook up the components to the Chec API using Commerce.js to display live product data
Requirements
To follow along with this guide you will need:
- A Chec dashboard account. You can sign up for free if you don't already have one.
- Node.js version 8 or greater.
npmoryarnfor package management.npmis included in the Node.js installation andyarnwithcreate-react-appwhich we'll be using later.- A code editor such as Visual Studio Code.
Prerequisites
To get the most from this guide a working knowledge of HTML and JavaScript will help but isn't necessary. Some knowledge of Node.js and yarn would also help but again isn't required. You will need to be familiar with using the command line/terminal on your computer.
Chec Dashboard setup
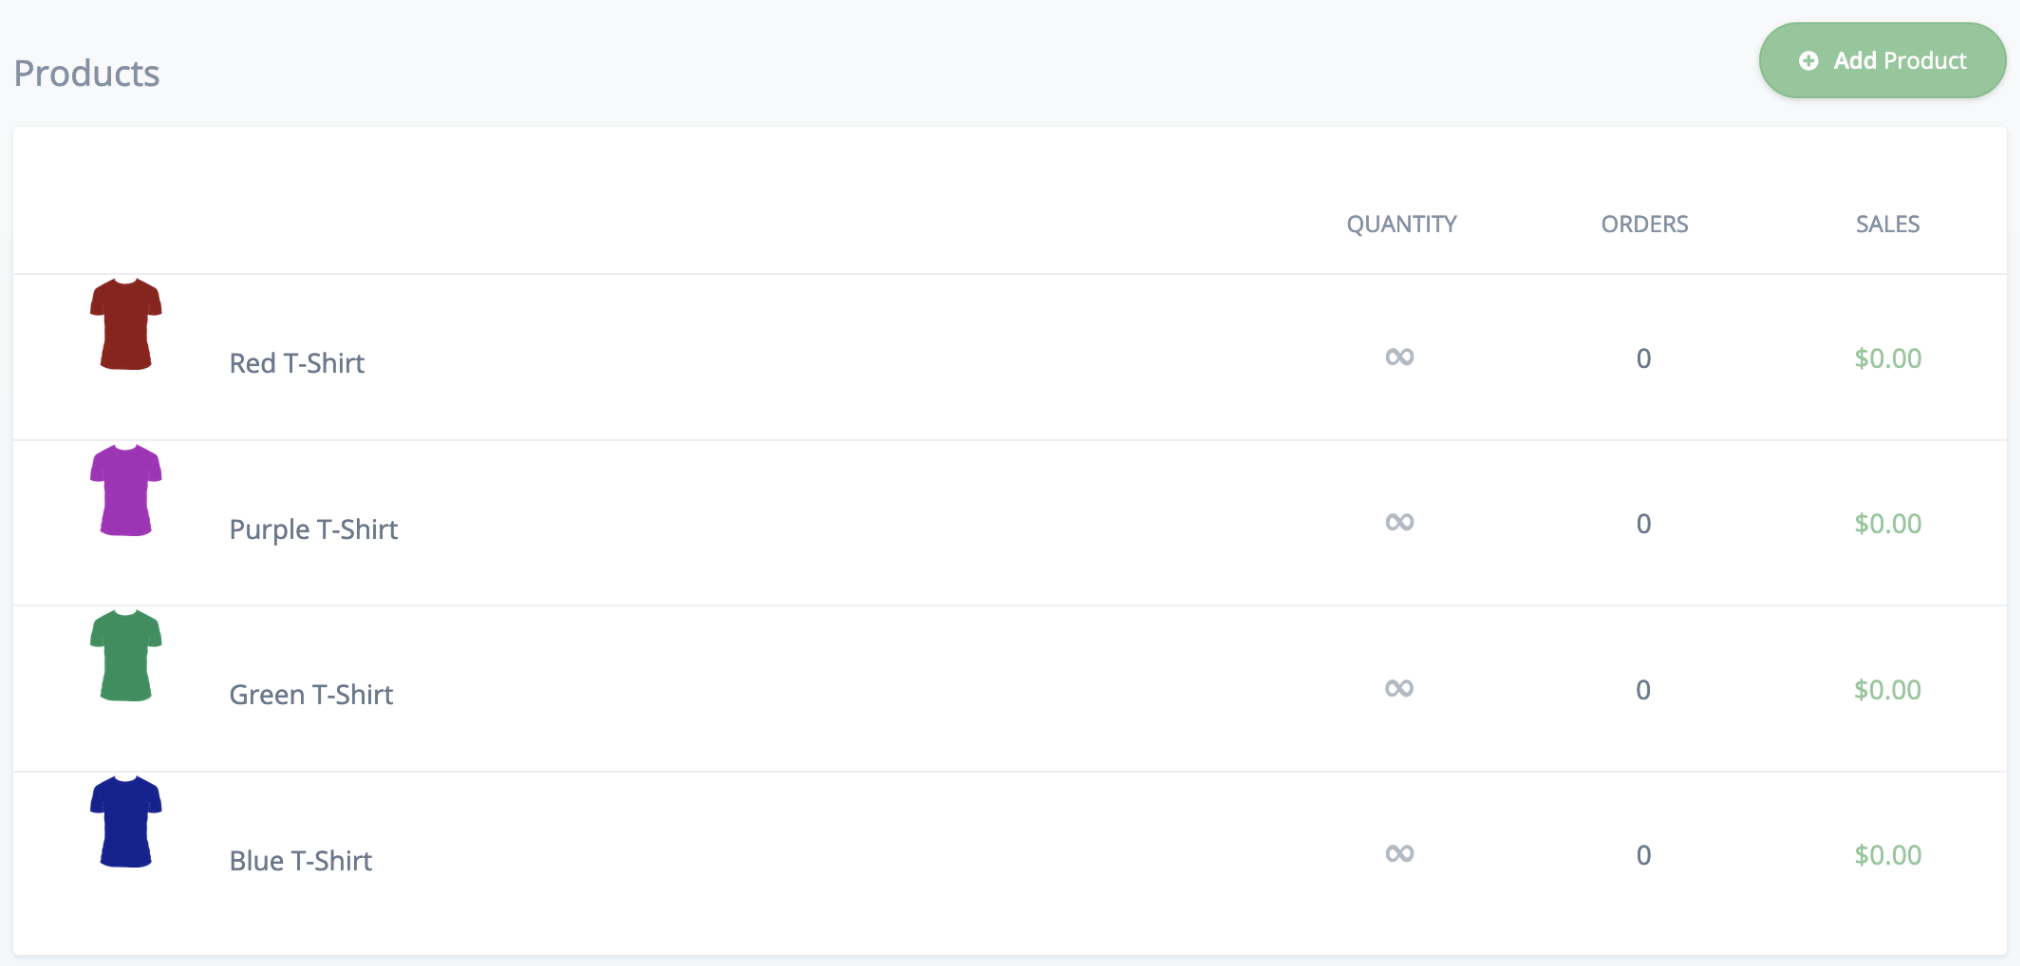
Create some products in your Chec Dashboard with at least a name, description, image and price. We won't need many for the purposes of this guide. See the example below of a small number of t-shirts using a basic illustration as the image.
App setup
Next we'll create the React app, add Bootstrap to simplify the styling and install the Commerce.js SDK.
We'll use create-react-app to install the base application. This can be called directly using the npx tool that is part of Node.js. Change directory to the location on your machine where you want to install the app and run the following commands.
npx create-react-app react-list-products
cd react-list-products
This creates an application called react-list-products and changes the directory so that we are at the root of the project.
Next, add bootstrap.
yarn add bootstrap
Include the bootstrap CSS in your index.js file just before the application's default index.css file.
//index.js*

import 'bootstrap/dist/css/bootstrap.css';
import './index.css';
Check that your application works by stating the development server. This will automatically open the application in your browser at http://localhost:3000/. Changes to the code will hot-reload so you can run it in a separate terminal window and leave it running as we make changes.
yarn start
Install Commerce.js
The SDK can be installed in one of two ways. You can include the script from the CDN or install it as a package as part of your application.
To use the CDN add the following line to the head of your project's index.html file.
// index.html

<script type="text/javascript" src="https://assets.chec-cdn.com/v2/commerce.js"></script>
To add the SDK as a package in the application run this command.
yarn add @chec/commerce.js
We'll see how to initialise and use the SDK later.
Create React components for the products list
To begin we'll create two React components to display our products. One will represent the overall product list and the other an individual product. Initially we'll hard code some values for the product and later replace this with live data from Commerce.js.
For the moment we'll use the React logo image that is included as part of the standard app as a placeholder for our product images so copy it to the src directory.
cp public/logo192.png src/
Add the following CSS after the code element in the src/index.css file to style our list.
//index.css

header {
  padding: 1rem 0;
}

.main-content {
  margin-top: 2rem;
}

.product {
  border: 1px solid #ccc;
  border-radius: 5px;
  padding: 1rem 0;
  margin: 1rem 0;
}

.product-detail {
  padding: 0 2rem;
}

.product-price {
  font-weight: bold;
  font-size: 140%;
}
Product row component
The ProductRow component displays information about an individual product.
Create a file named src/components/ProductRow.js with the following code.
//components/ProductRow.js

import React from 'react';
import sampleImage from '../logo192.png';

const ProductRow = () => {
  return (
    <div className="row product">
      <div className="col-md-2">
        <img src={sampleImage} alt="Sample Image" height="150" />
      </div>
      <div className="col-md-8 product-detail">
        <h4>Blue T-Shirt</h4>
        <p>Lorem ipsum dolor sit amet, consectetur adipiscing elit.</p>
      </div>
      <div className="col-md-2 product-price">
        $19.99
      </div>
    </div>
  );
}

export default ProductRow;
Notice how we're importing the logo image we copied earlier and using it as the src attribute of our img tag.
Product list component
The ProductList component is a holder for multiple ProductRows. Eventually this component will contain the code to fetch the live product data using Commerce.js.
Create a new file src/components/ProductList.js. We'll create this as a class rather than functional component as this will come in useful later. You can read about the difference between the types of component here.
//components/ProductList.js

import React, { Component } from 'react';
import ProductRow from './ProductRow';

class ProductList extends Component {
  constructor(props) {
    super(props);
  }

  render() {
    return (
      <div className="container main-content">
        <ProductRow />
        <ProductRow />
      </div>
    );
  }
}

export default ProductList;
At this stage we're hard coding two instances of ProductRow but later we'll change this to loop and display a row for each product from the dashboard.
Use the components in the App
Finally, update App.js to use the list component within some bootstrap framing HTML.
//App.js

import React from 'react';
import './App.css';
import ProductList from './components/ProductList';

function App() {
  return (
    <div className="container">
      <header className="header">
        <h1>My Products</h1>
      </header>
      <ProductList />
    </div>
  );
}

export default App;
When you save this file the application should reload and look something like the image below.
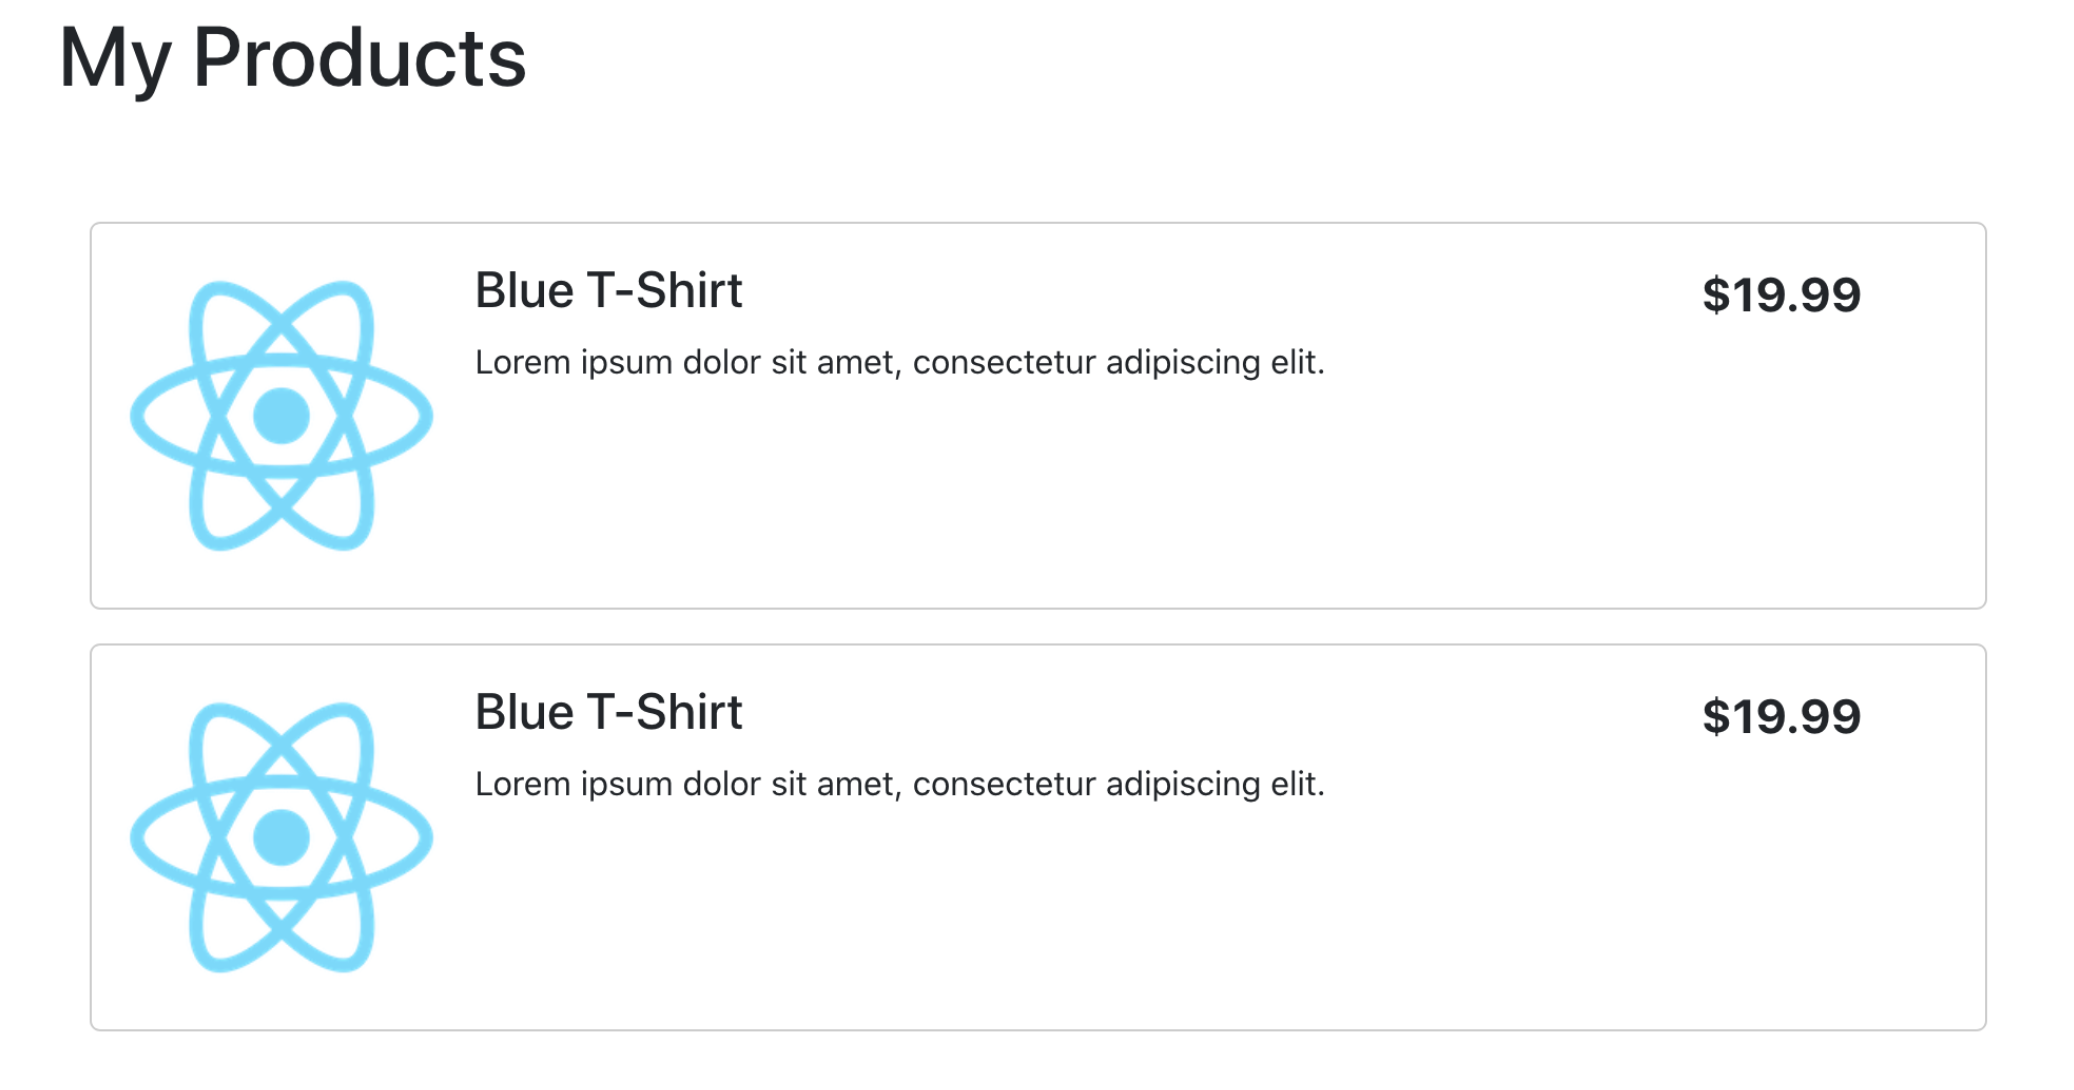
Next, we'll hook this up to live product data using Commerce.js.
Retrieve products from Chec
To begin with we'll alter our product row to be driven by props. In React props contain data that are passed into a component in a similar way to attributes on a standard HTML element.
Edit the body of the ProductRow.
//components/ProductRow.js

const ProductRow = ({ image, name, description, price }) => {
  return (
    <div className="row product">
      <div className="col-md-2">
        <img src={image} alt={name} height="150" />
      </div>
      <div className="col-md-8 product-detail">
        <h4>{name}</h4>
        <div dangerouslySetInnerHTML={{__html: description}}></div>
      </div>
      <div className="col-md-2 product-price">
        {price}
      </div>
    </div>
  );
}
The values from the props can be inserted into the HTML by surrounding them in curly braces, e.g. {name}. Note that we've changed the way the description is displayed significantly. Description data from Chec will be in HTML format and React would normally escape that for security reasons and you would see HTML tags displayed as text in the page. dangerouslySetInnerHTML tells React that we are expecting HTML in this field and it should be displayed as is.
We can remove the import of sampleImage in ProductRow.js since from now on we'll be using real product images from the Chec Dashboard.
Now we can import the Commerce.js SDK in ProductList.js and create an instance. You should use your sandbox public key which you will find in Setup > Developer in the Chec Dashboard.
We'll also update the component to call the `[``products``` API endpoint](https://commercejs.com/docs/api/#list-all-products) and display the results.
//components/ProductList.js

import React, { Component } from 'react';
import ProductRow from './ProductRow';
import Commerce from '@chec/commerce.js';

const commerce = new Commerce('<your_api_key>');

class ProductList extends Component {
  constructor(props) {
    super(props);

    this.state = {
      products: [],
    }
  }

  componentDidMount() {
    commerce.products.list().then((result) => {
      this.setState({ products: result.data });
    });
  }

  render() {
    return (
      <div className="container main-content">
        {
          this.state.products.map(product => {
            return <ProductRow key={product.id} image={product.media.source} name={product.name} description={product.description} price={product.price.formatted_with_symbol} />
          })
        }
      </div>
    );
  }
}

export default ProductList;
Remember to replace <your_api_key> with your actual key.
Your app should now be displaying your live products from Chec!

Let's take a look at what's happened in ProductList because we've made a lot of changes.
To begin with we initialised some state in the component's constructor, in this case with an empty products list.
this.state = {
  products: [],
}
And we changed render to use the map function to transform the list of products from state into a corresponding list of ProductRow components. The argument we provide to map is a function that receives a single product as an argument and returns an instance of the row component, passing in the product data as its props. Note that we're also setting a key prop on the row. This is because React requires components in a list to each have a unique key.
At first this will display no rows because the product list in state is empty.
{
  this.state.products.map(product => {
    return <ProductRow key={product.id} image={product.media.source} name={product.name} description={product.description} price={product.price.formatted_with_symbol} />
  })
}
Finally we added a componentDidMount function that calls the Commerce.js SDK and retrieves the product list. This function is called when the React component has been created and added to the DOM.
componentDidMount() {
  commerce.products.list().then((result) => {
    this.setState({ products: result.data });
  });
}
The SDK products.list() function returns a promise. When the promise returns we process it and add the products to the state. In reality you would also want to handle any possible error here too but we've skipped that for the sake of brevity.
React automatically notices this change to state and updates the component accordingly, displaying our live product list.
Product listing, done!
And there we are, a React app displaying live product data using the Commerce.js SDK.
You can see a live demo of this here.